


Overview
In this article, we will deploy a Nextjs app on Cloudflare pages. Cloudflare Pages is an amazing service from Cloudflare that makes the hosting of JAMstack applications or websites so seamless.
With Cloudflare pages, you get a CI/CD pipeline out of the box without any configurations and a staging link to preview newly pushed updates to your application.
Prerequisites
To follow the steps in this article successfully, you need to have the following
A GitHub account
A Cloudflare account
Nodejs installed on your local machine
Step 1 - Create a Nextjs app
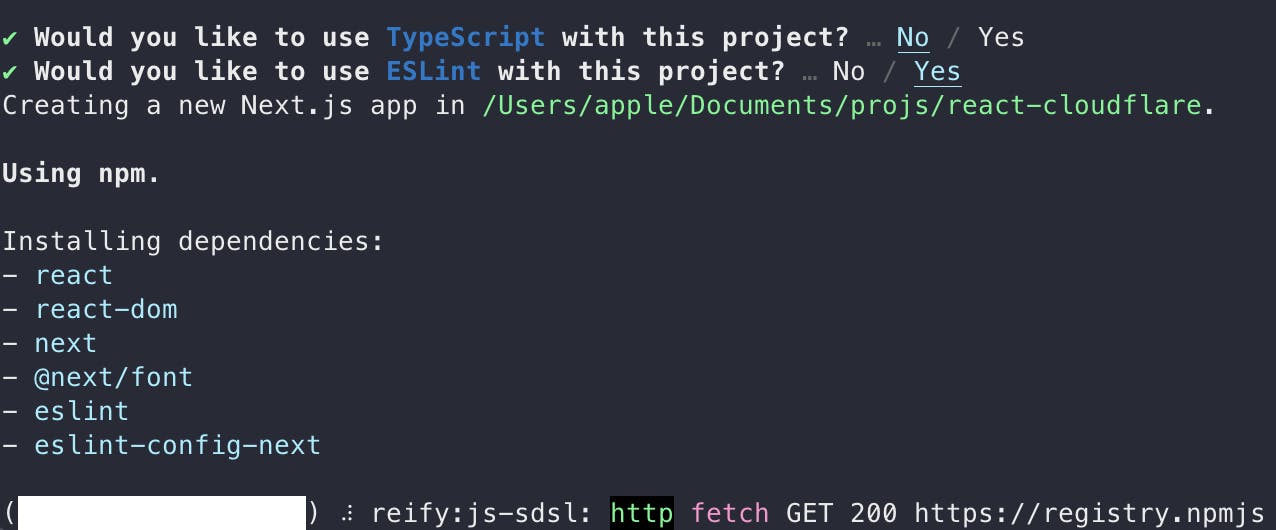
Firstly, let's spin up the starter files for our app using the Nextjs CLI ( Command Line Interface) provided by the Nextjs team. Open your terminal and type the command below
npx create-next-app <theNameOfYourApp>
You will be prompted to choose either TypeScript for your development, use the left and right arrow keys to select your desired choices and hit the enter key after each selection
Step 2 - Run the application locally
Once it's done scaffolding the project, navigate to the project directory from the terminal with the following command and hit enter.
cd <theNameOfYourApp>
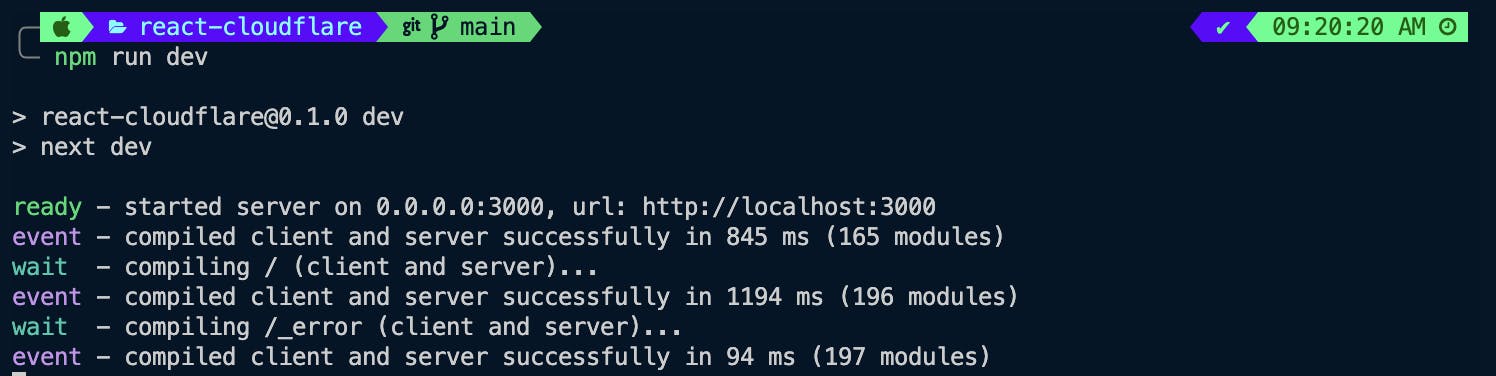
To run the app, you can do that either in the system terminal you already have opened or the terminal in VSCode, Using my system terminal, type the command below
npm run dev
If you prefer to use the terminal in Vscode, open your project folder in VScode by typing the command below in your system's terminal. This method saves you a couple of mundane seconds.
code .
With your project opened in VSCode, use these keyboard combinations to open the VSCode terminal use:
Command(⌘) + j for Mac OS
Ctrl + j for Windows
Now in your terminal type the command below
npm run dev
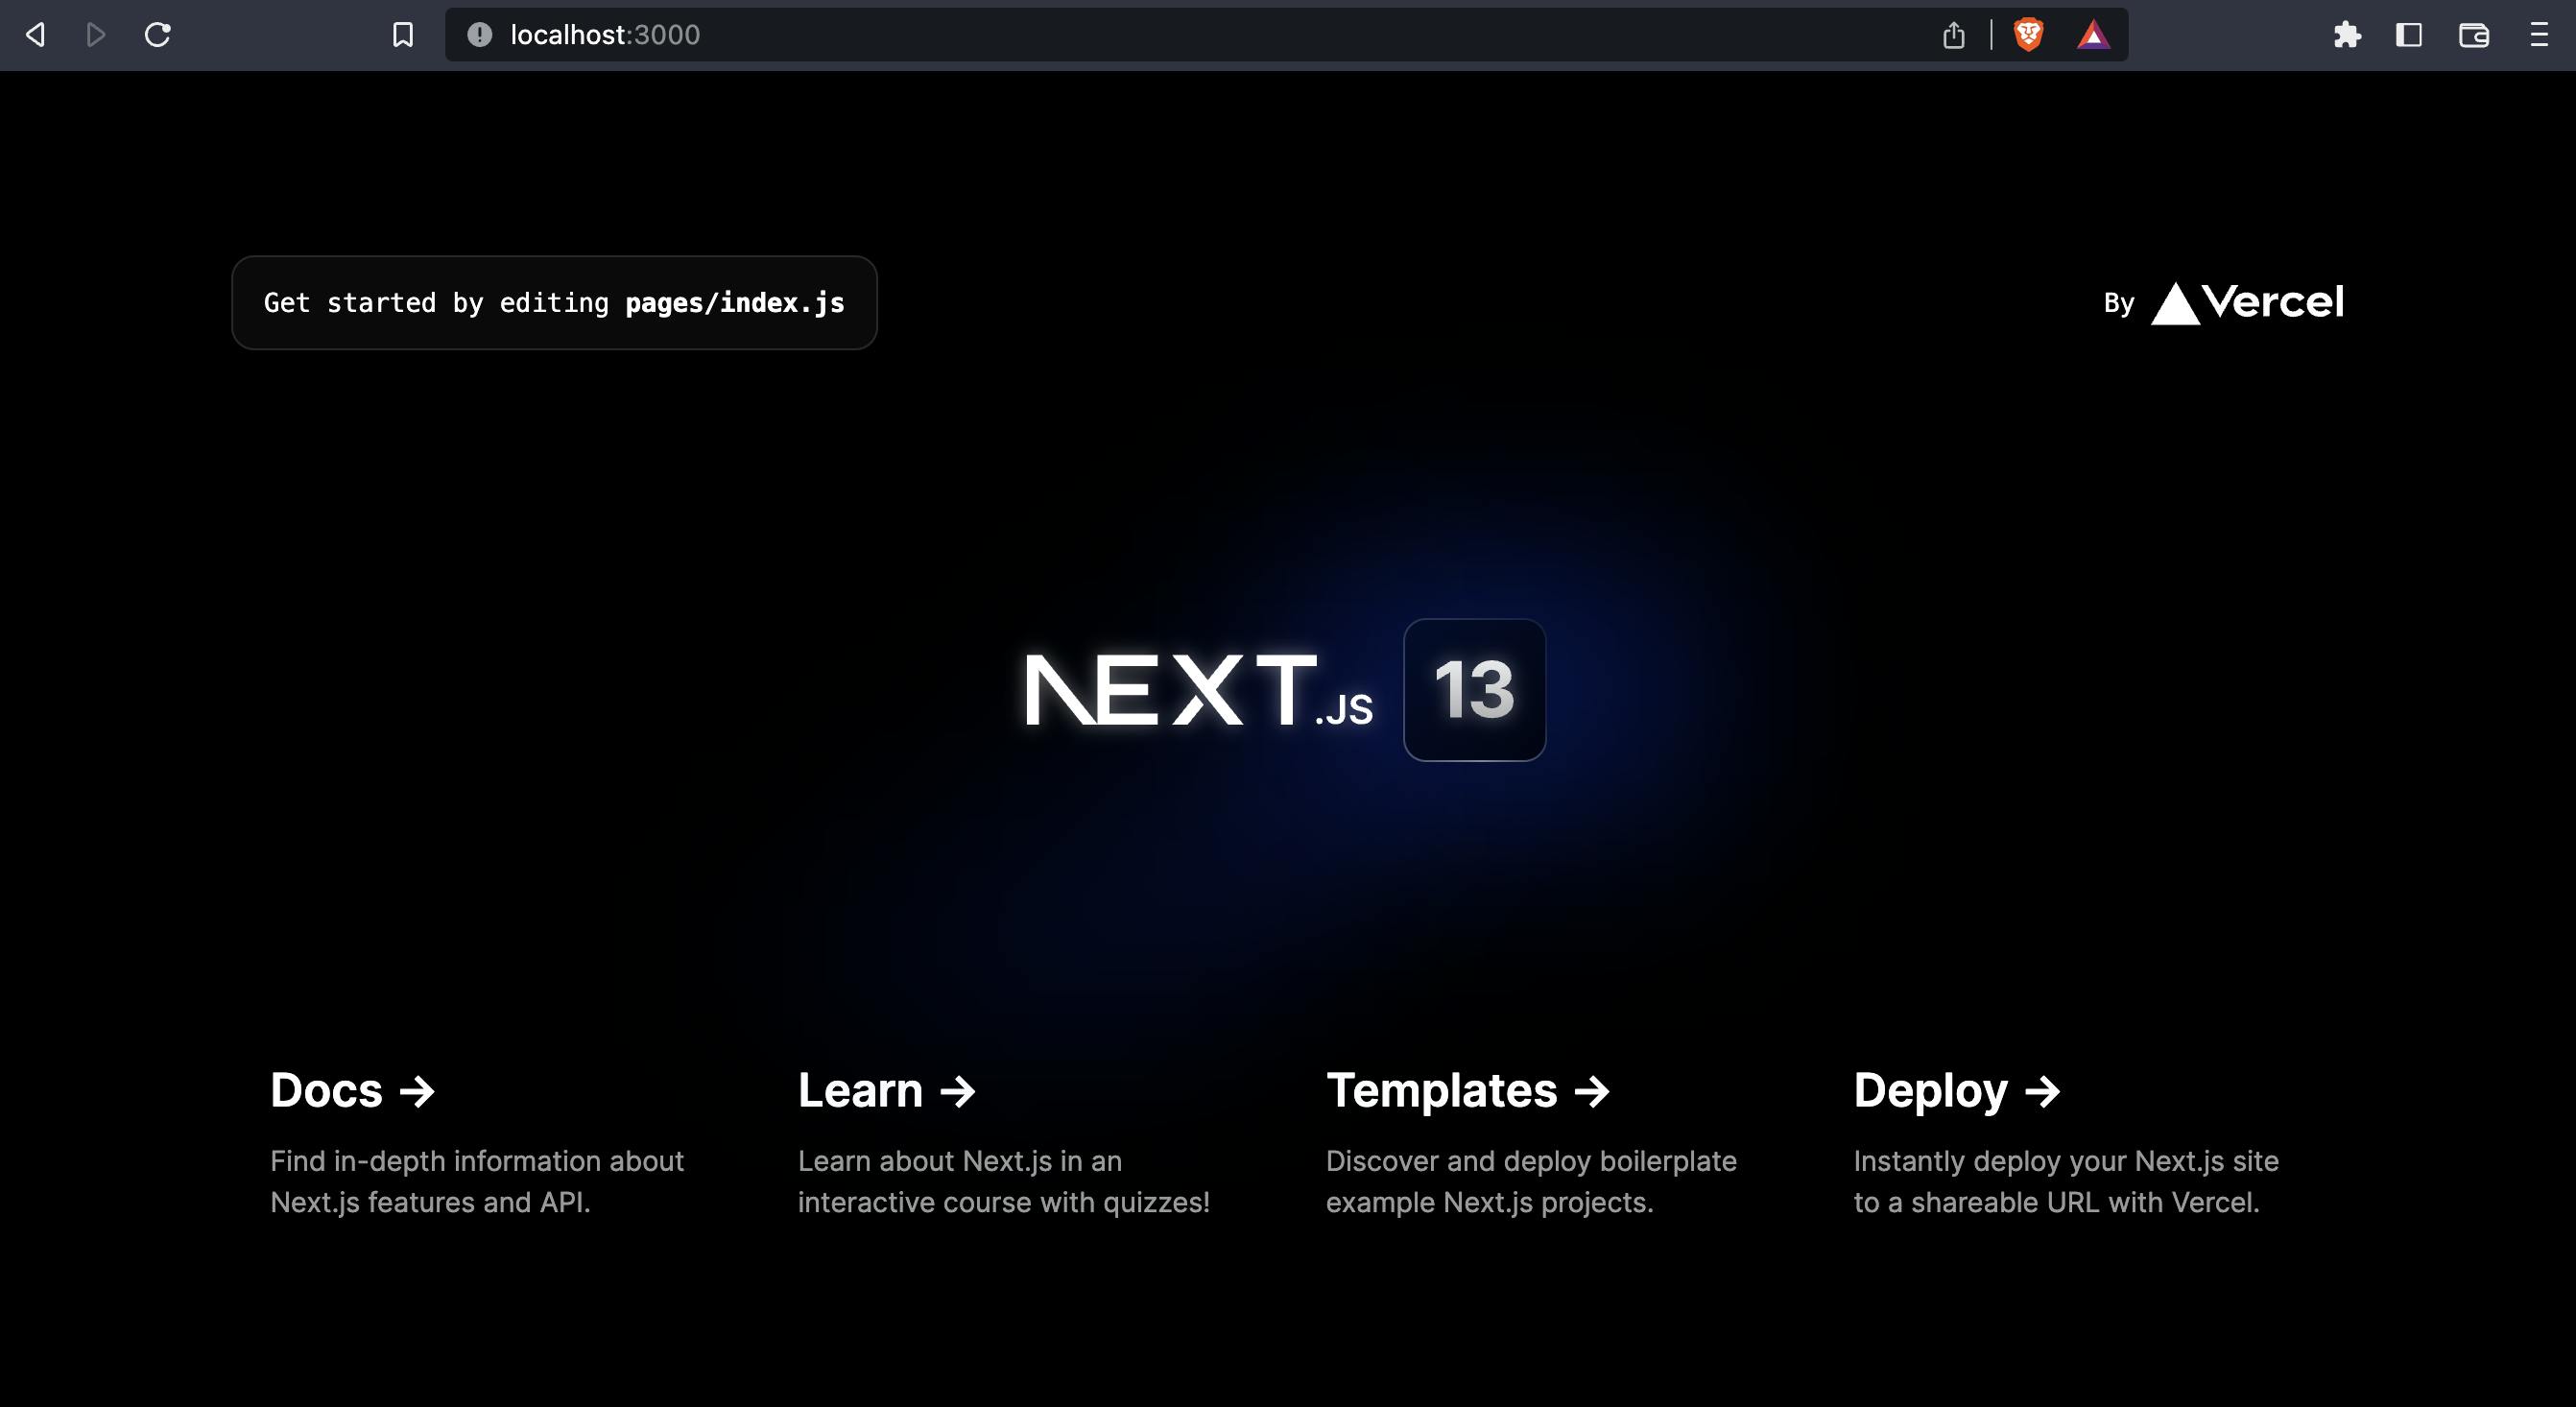
This will launch the application locally on port 3000 or any other port available if 3000 is taken. You can see the port in your terminal
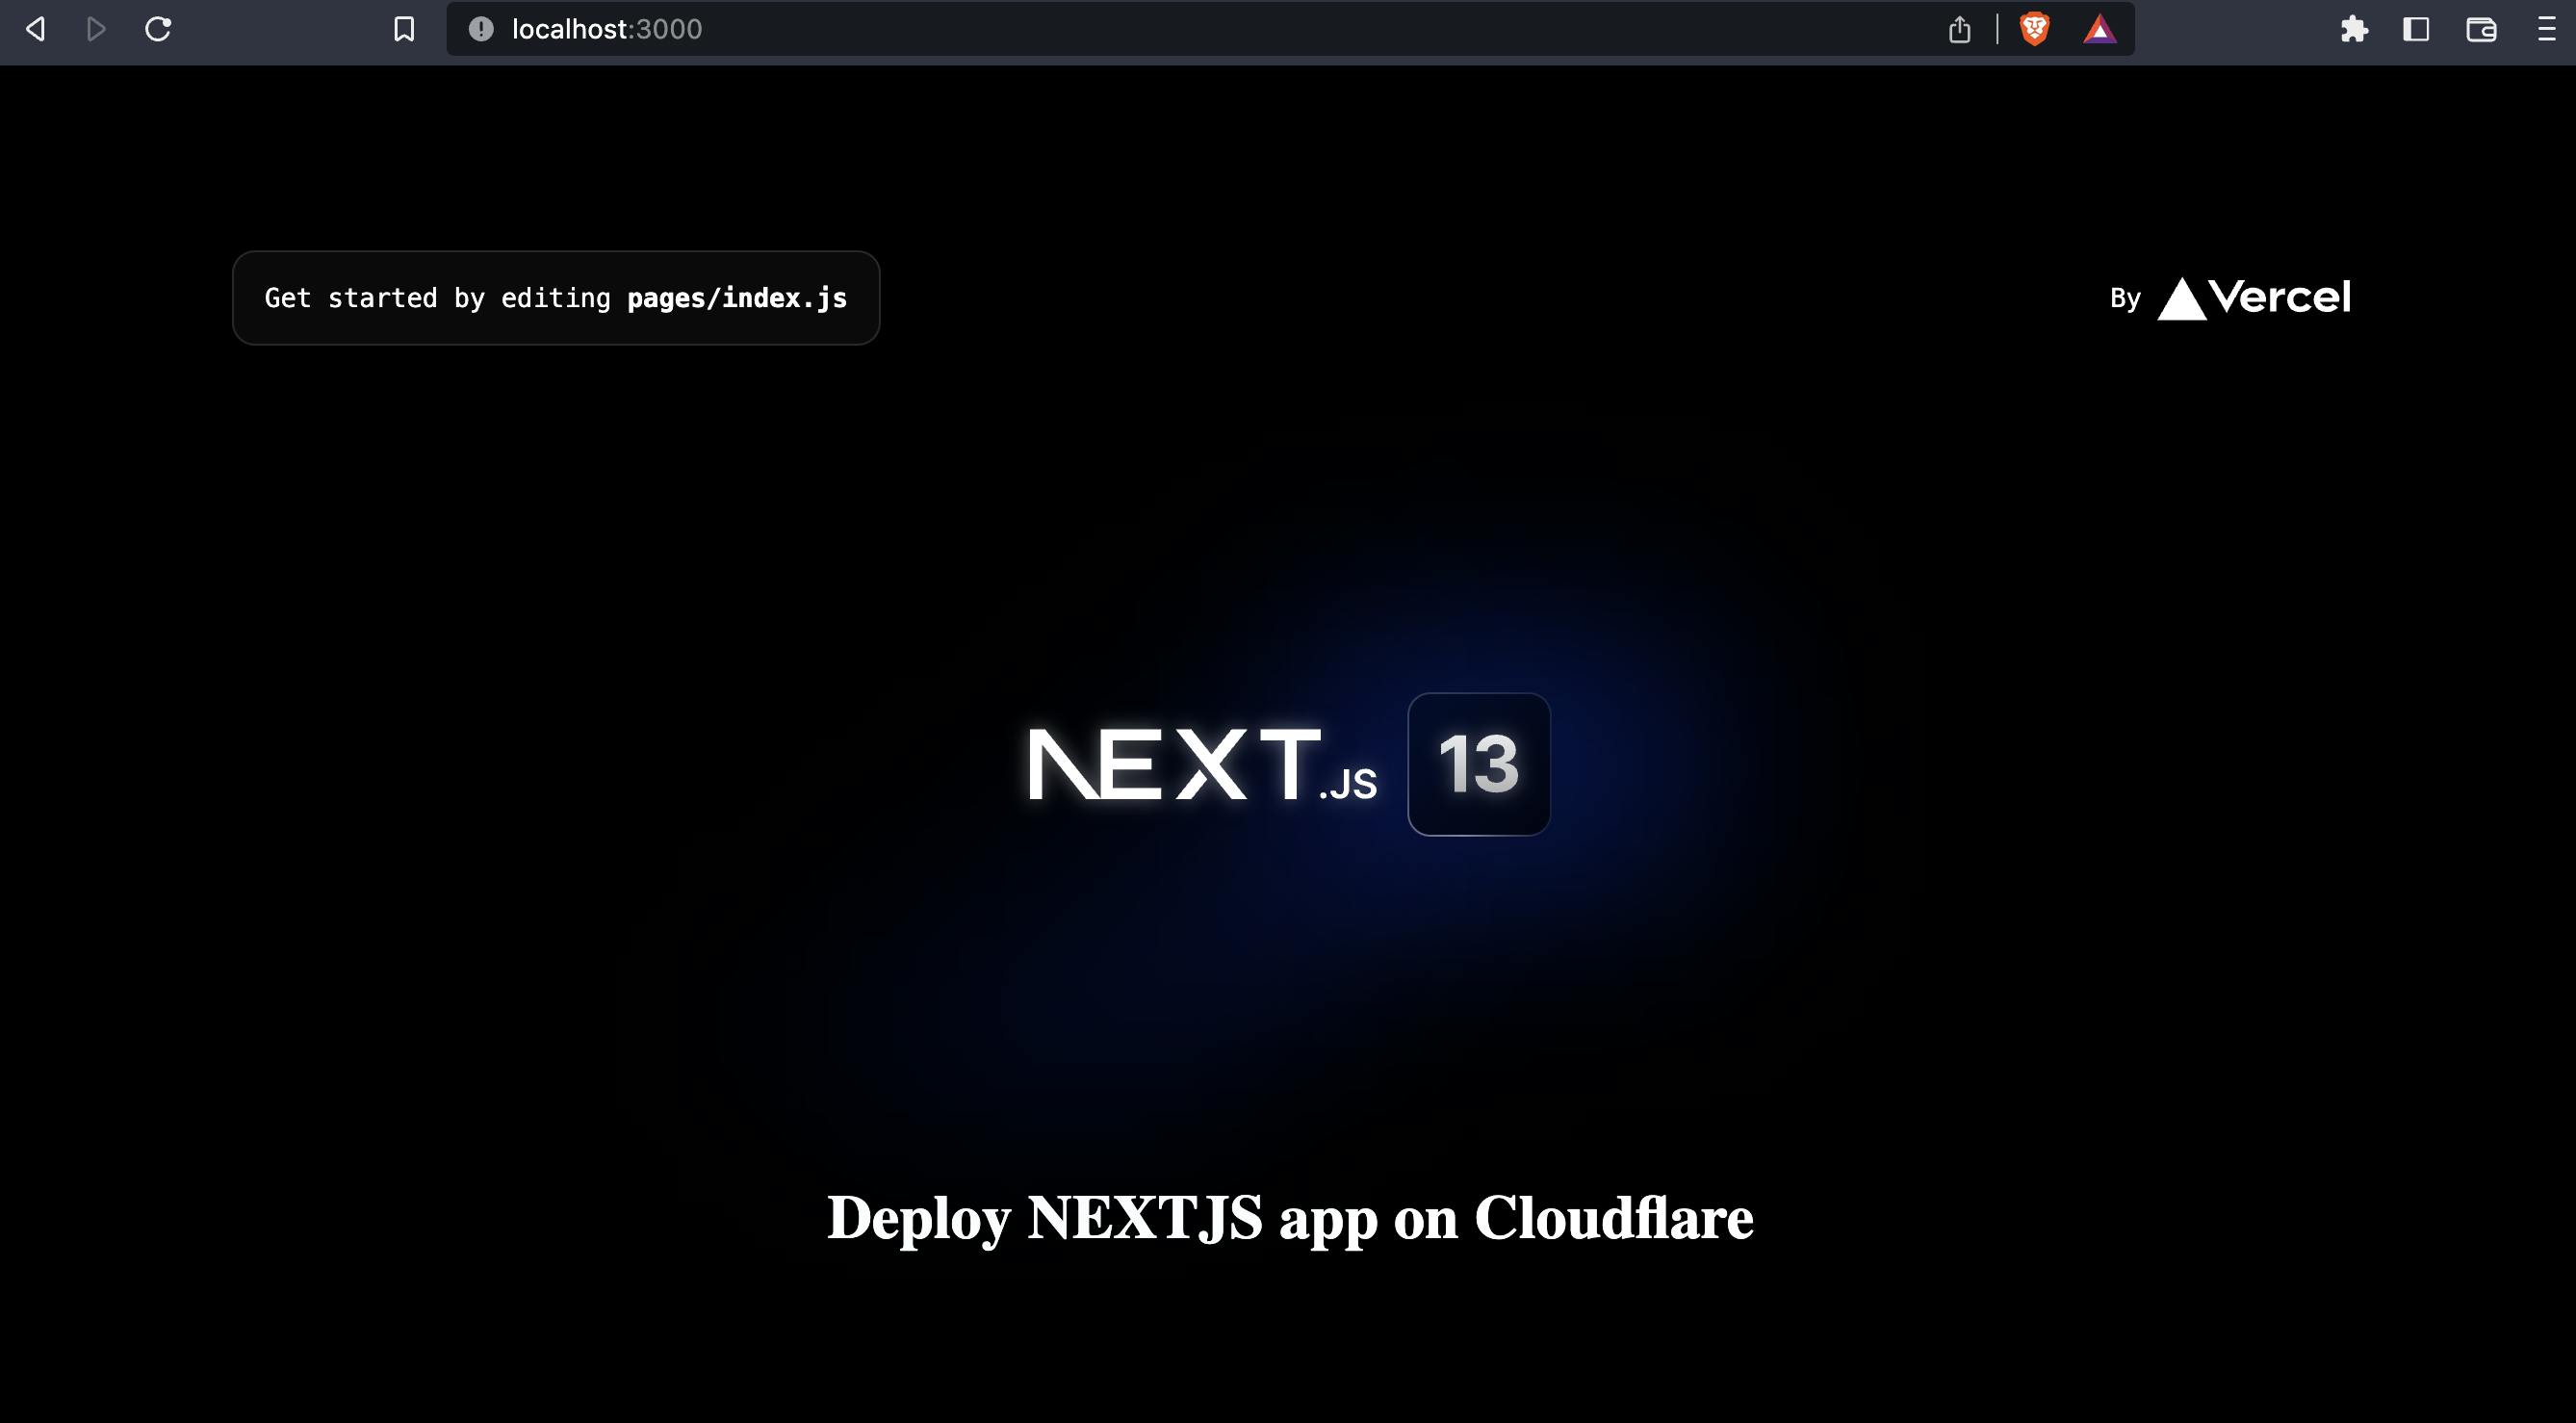
With the app opened in the browser, We can make changes to the files if needed.
With changes made to the index.js file, We can now move to deploy our application on Cloudflare pages.
Step 3 - Push the app to GitHub
Part of the prerequisites for this article is that already you have a GitHub account this is because Cloudflare pages fetch your source code from your project's repository to build your website.
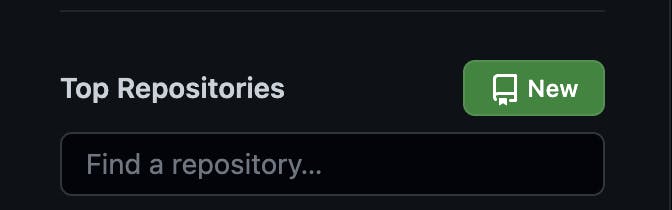
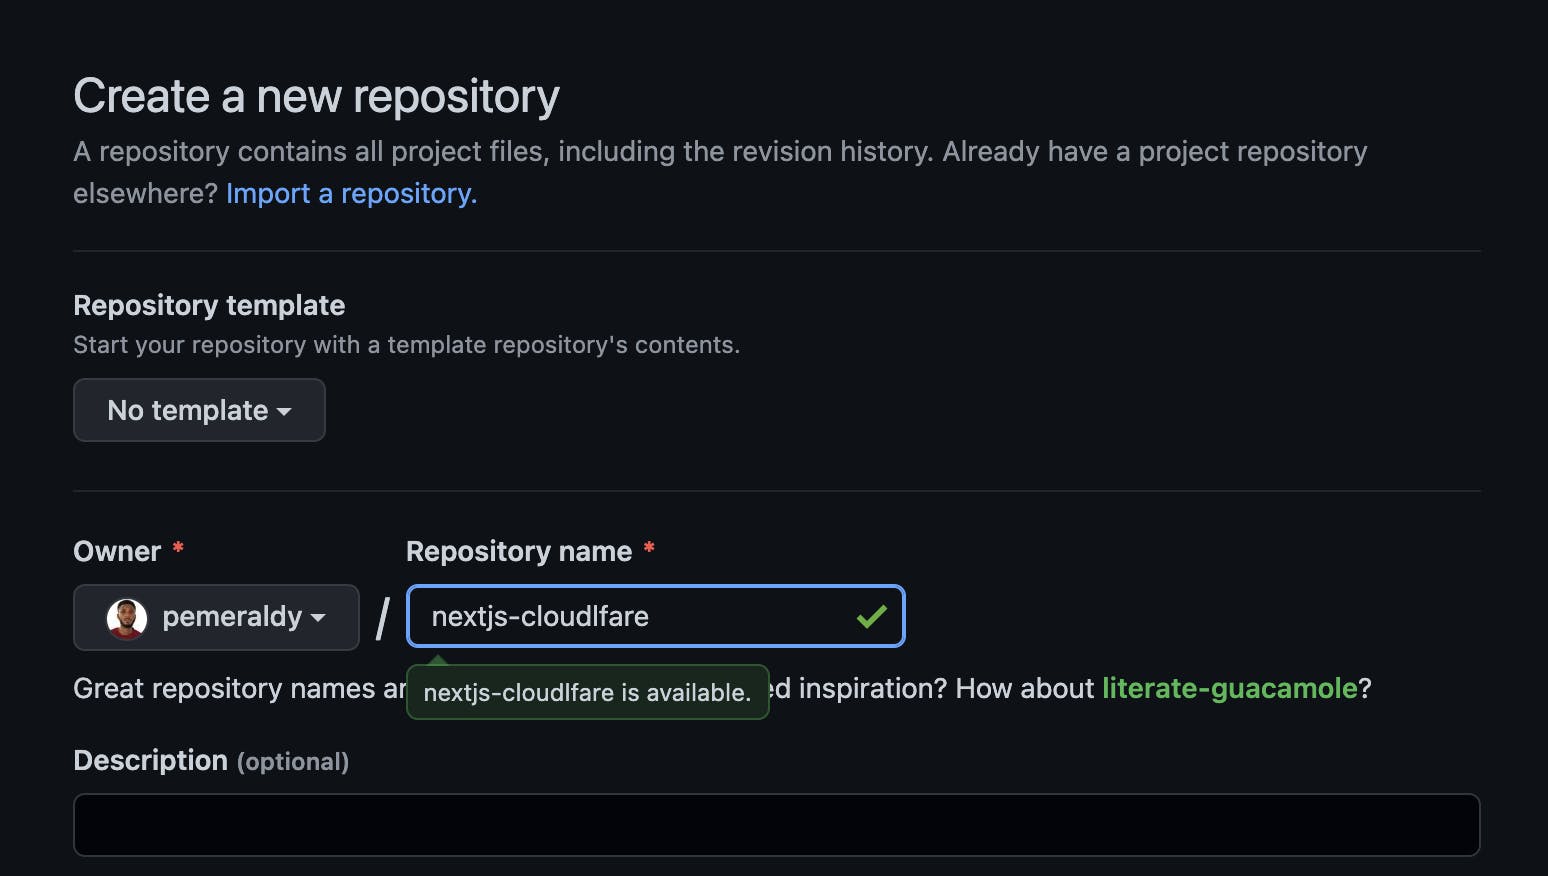
Log in to your GitHub account and create a new repository. You can find a green button on the left menu to create a new repository.
Give the repository a unique name of your choosing as seen in the image below
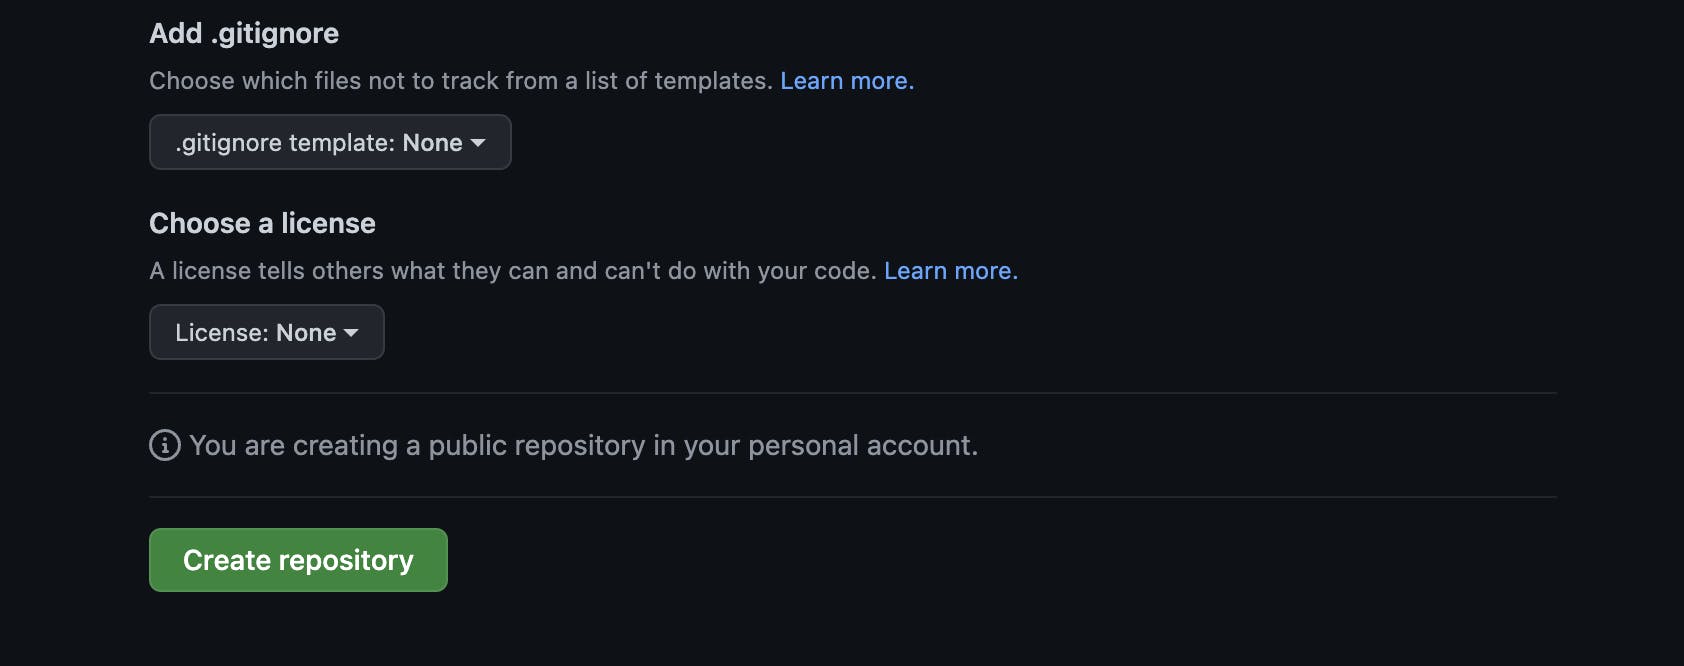
Scroll to the bottom of the page and click "Create repository".
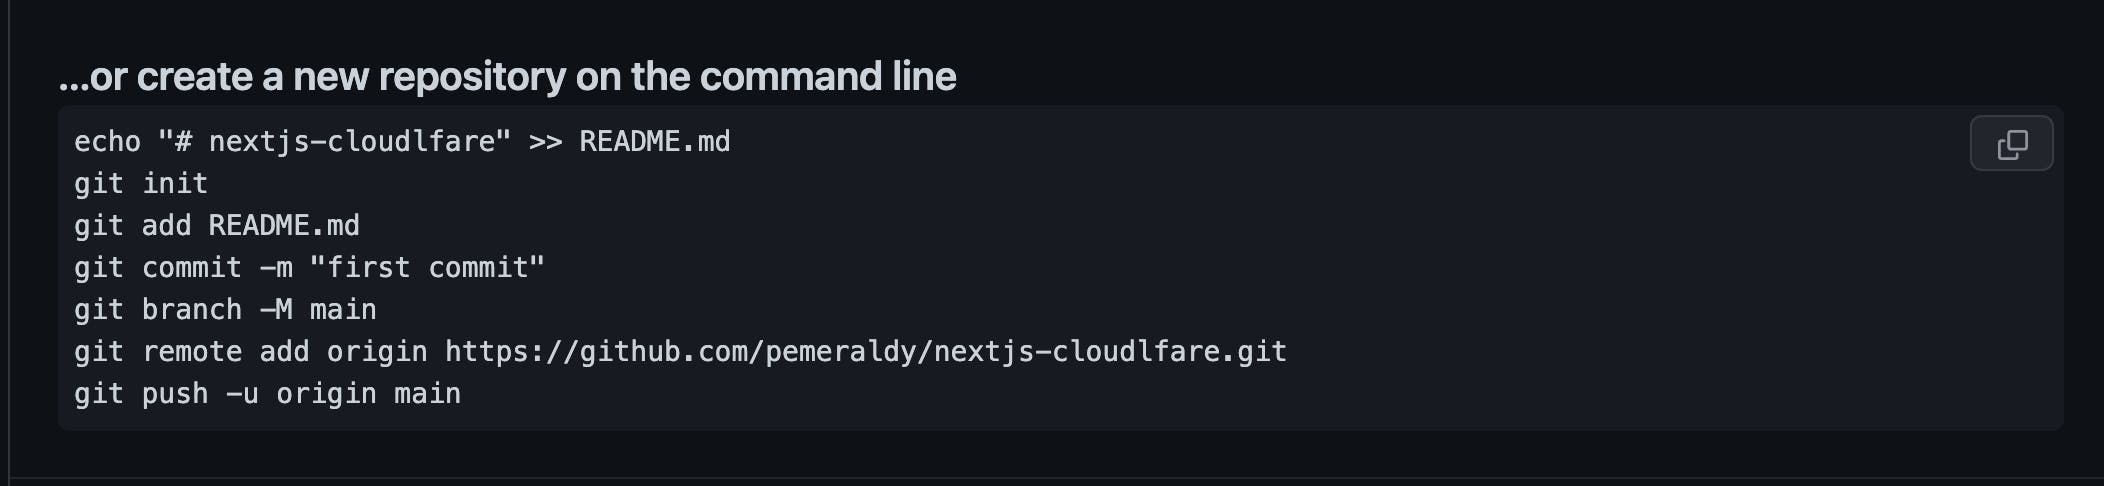
This will take you to another page showing you steps to follow in your terminal.
Go to your terminal and kill the server currently running with these keyboard combinations
⌃ Control + C for macOS
Ctrl + C for windows
Since this is not a tutorial on project version control using Git, I will advise you just copy the command and paste it into your terminal, then hit the enter key.
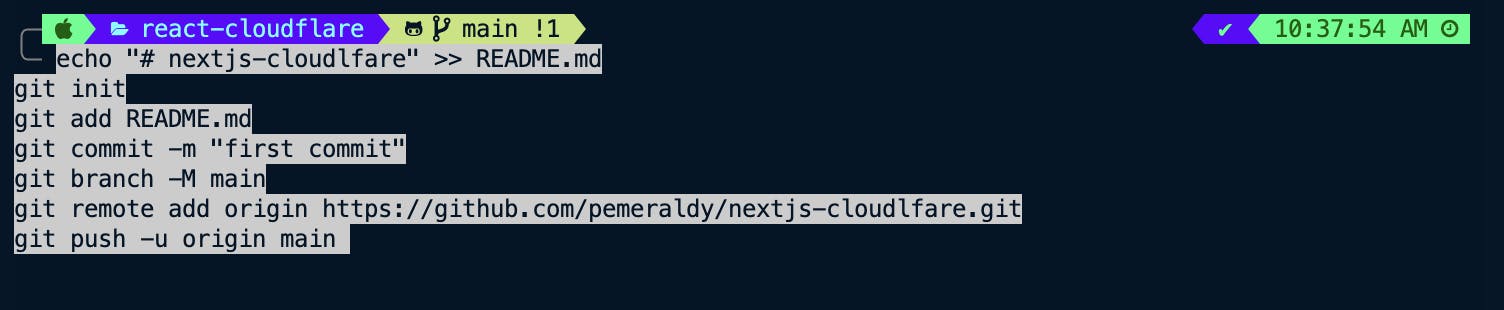
For Windows users, this might not work save that you're using bash, so I will ask that you copy or type each line one after the other as shown in your Github repository page.
git init
git add README.md
git commit -m "first commit"
git branch -M main
git remote add origin <your app repository>
git push -u origin main
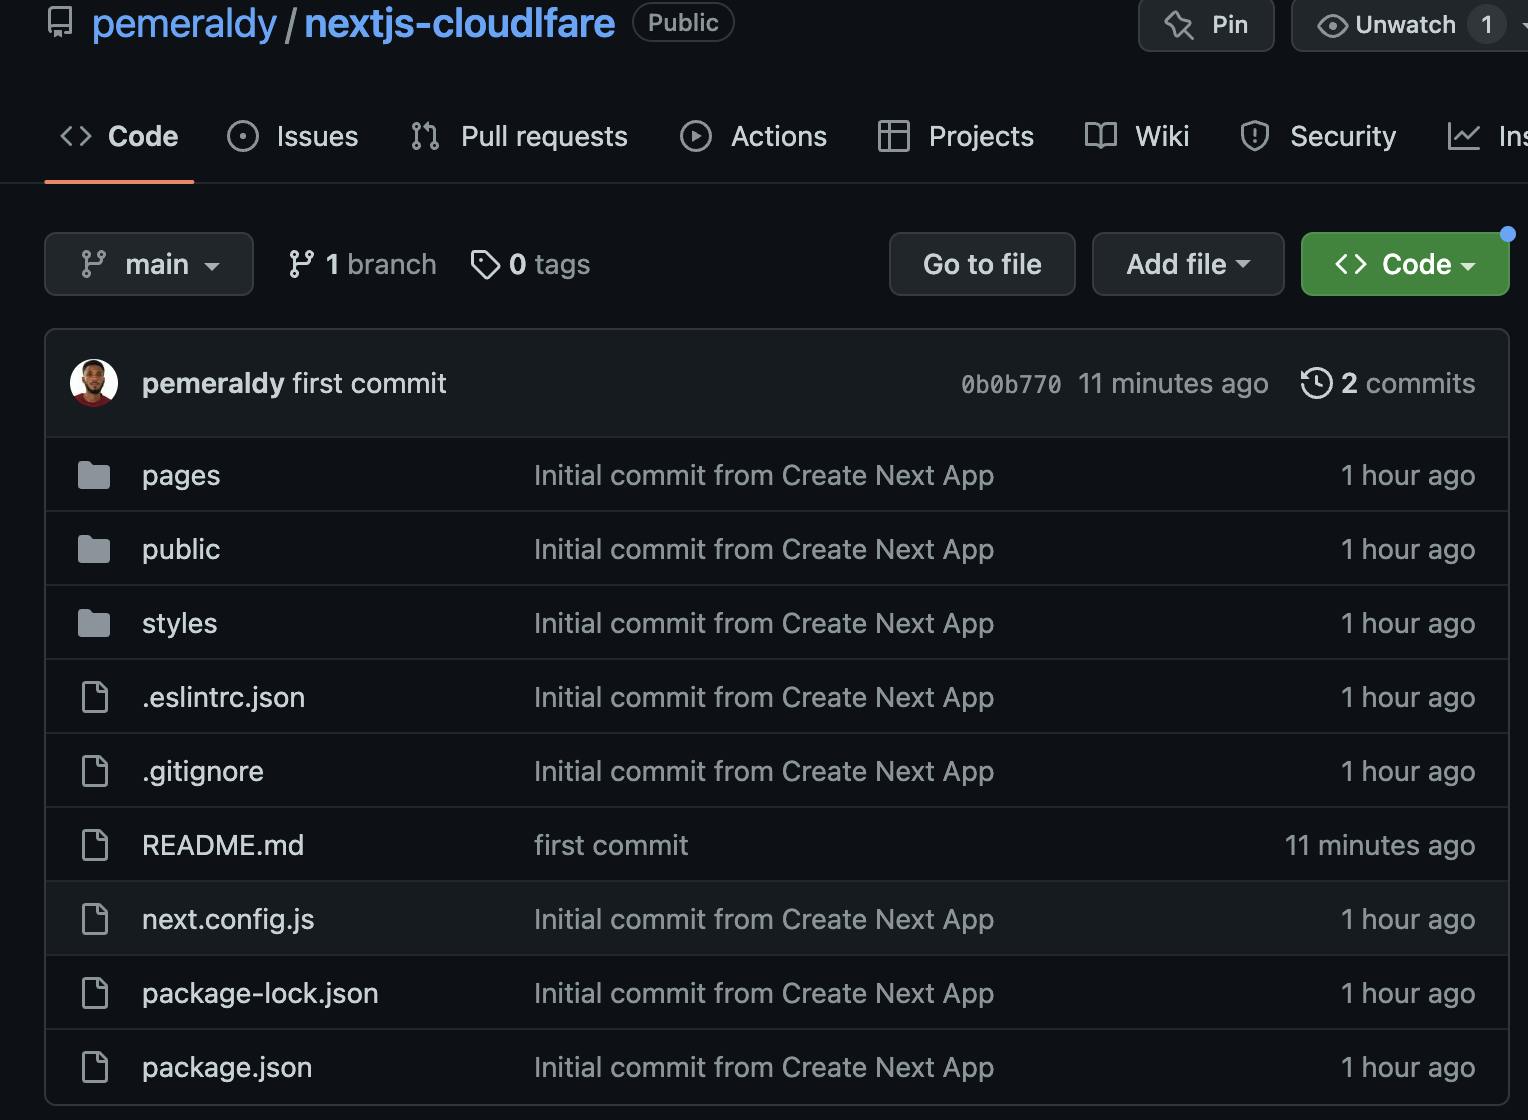
With the app successfully pushed to GitHub, refresh the repository page, you will now see your application folders and files uploaded
Step 4 - Deploy the app on Cloudflare pages
Before we can deploy our application on Cloudflare pages, we need to first create a Cloudflare account. Go to this page to signup
With your Cloudflare account created, log in to your dashboard to create a project.
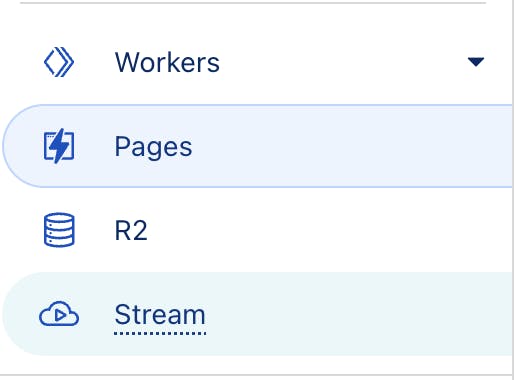
Click on pages on the left menu on the dashboard page
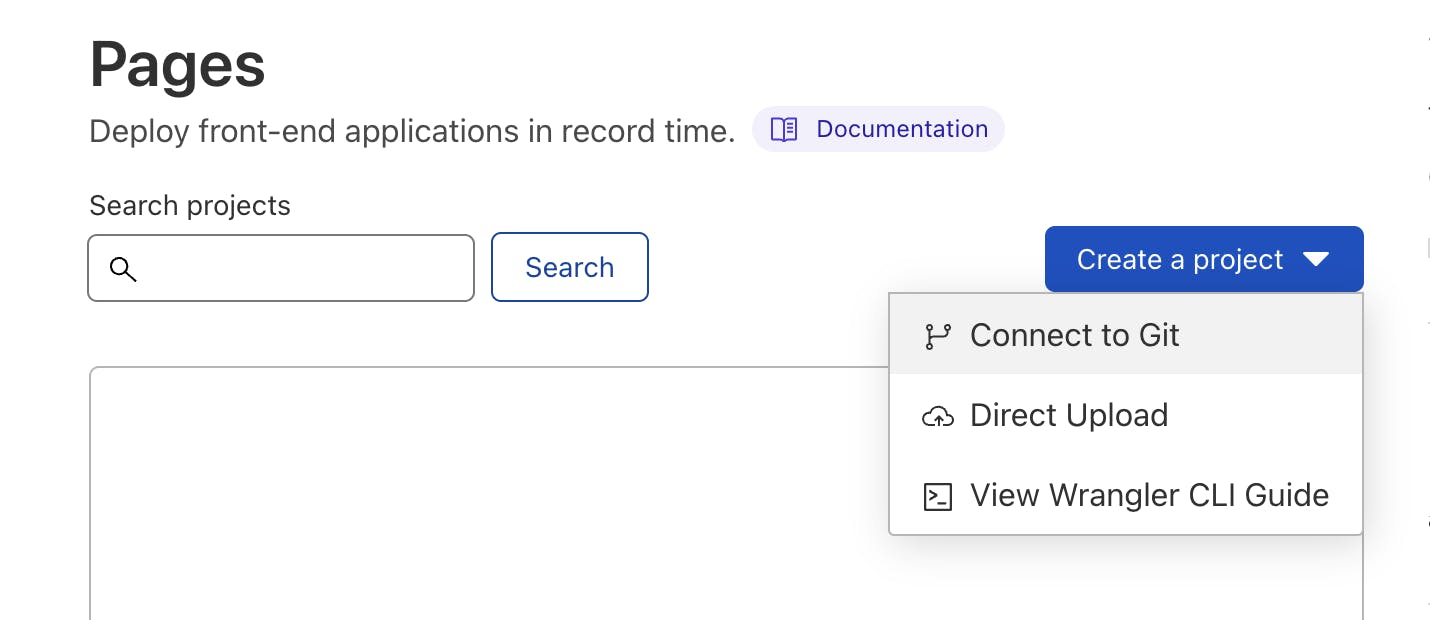
On the middle section of the page layout, click on the button with the text "Create a project" and on the dropdown menu, select "Connect to Git"
Now you will be asked to connect your GitHub account to Cloudflare, click on the "Connect GitHub" button and follow the login process.
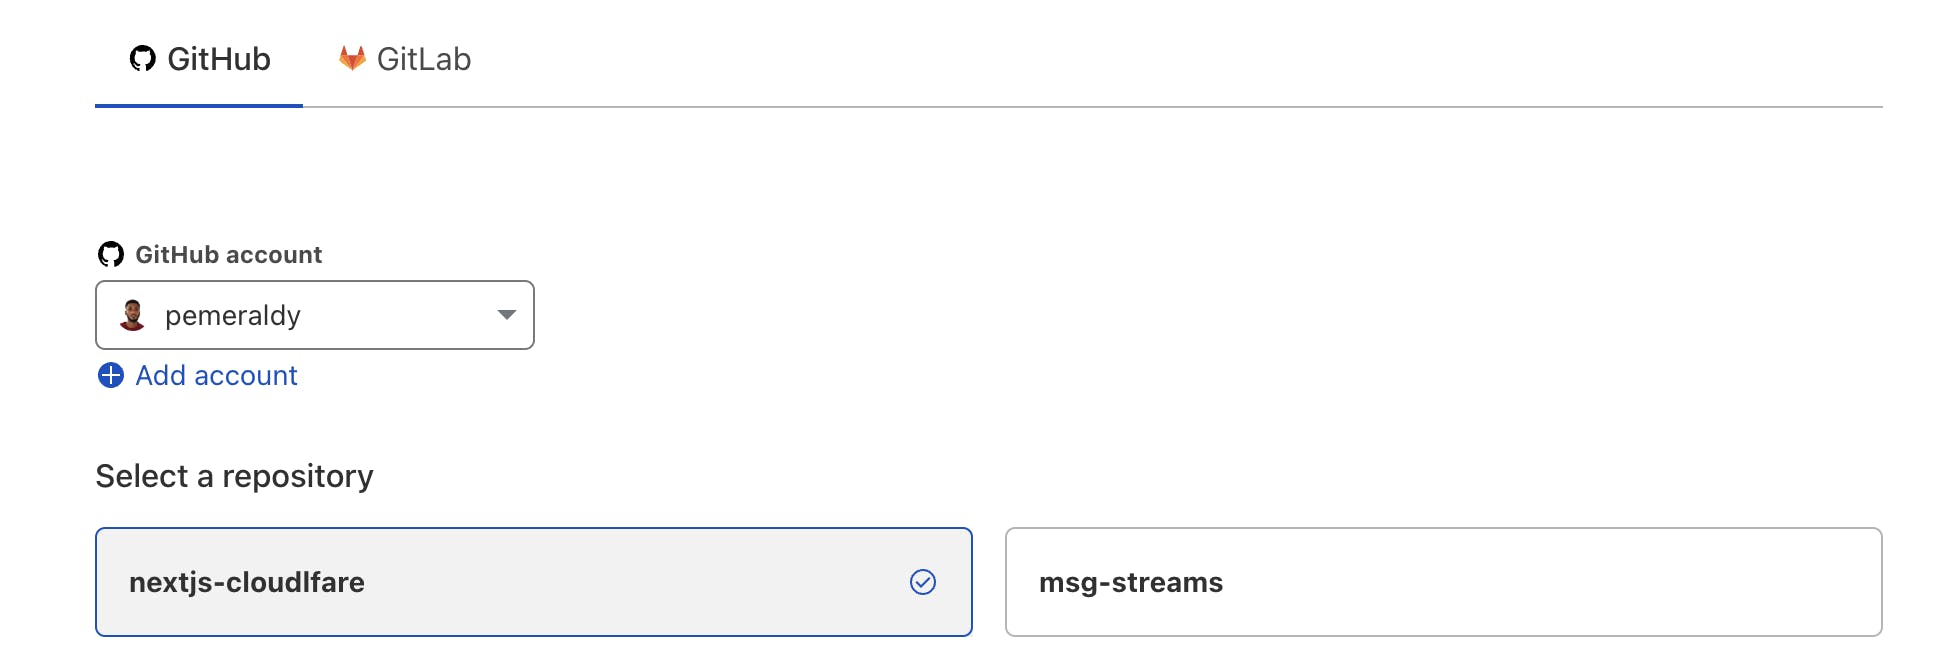
With your GitHub account successfully connected, you can now access your repository on Cloudflare pages.
Select the repository you just pushed your project to on GitHub and click on the "Begin setup" button at the bottom of the page.
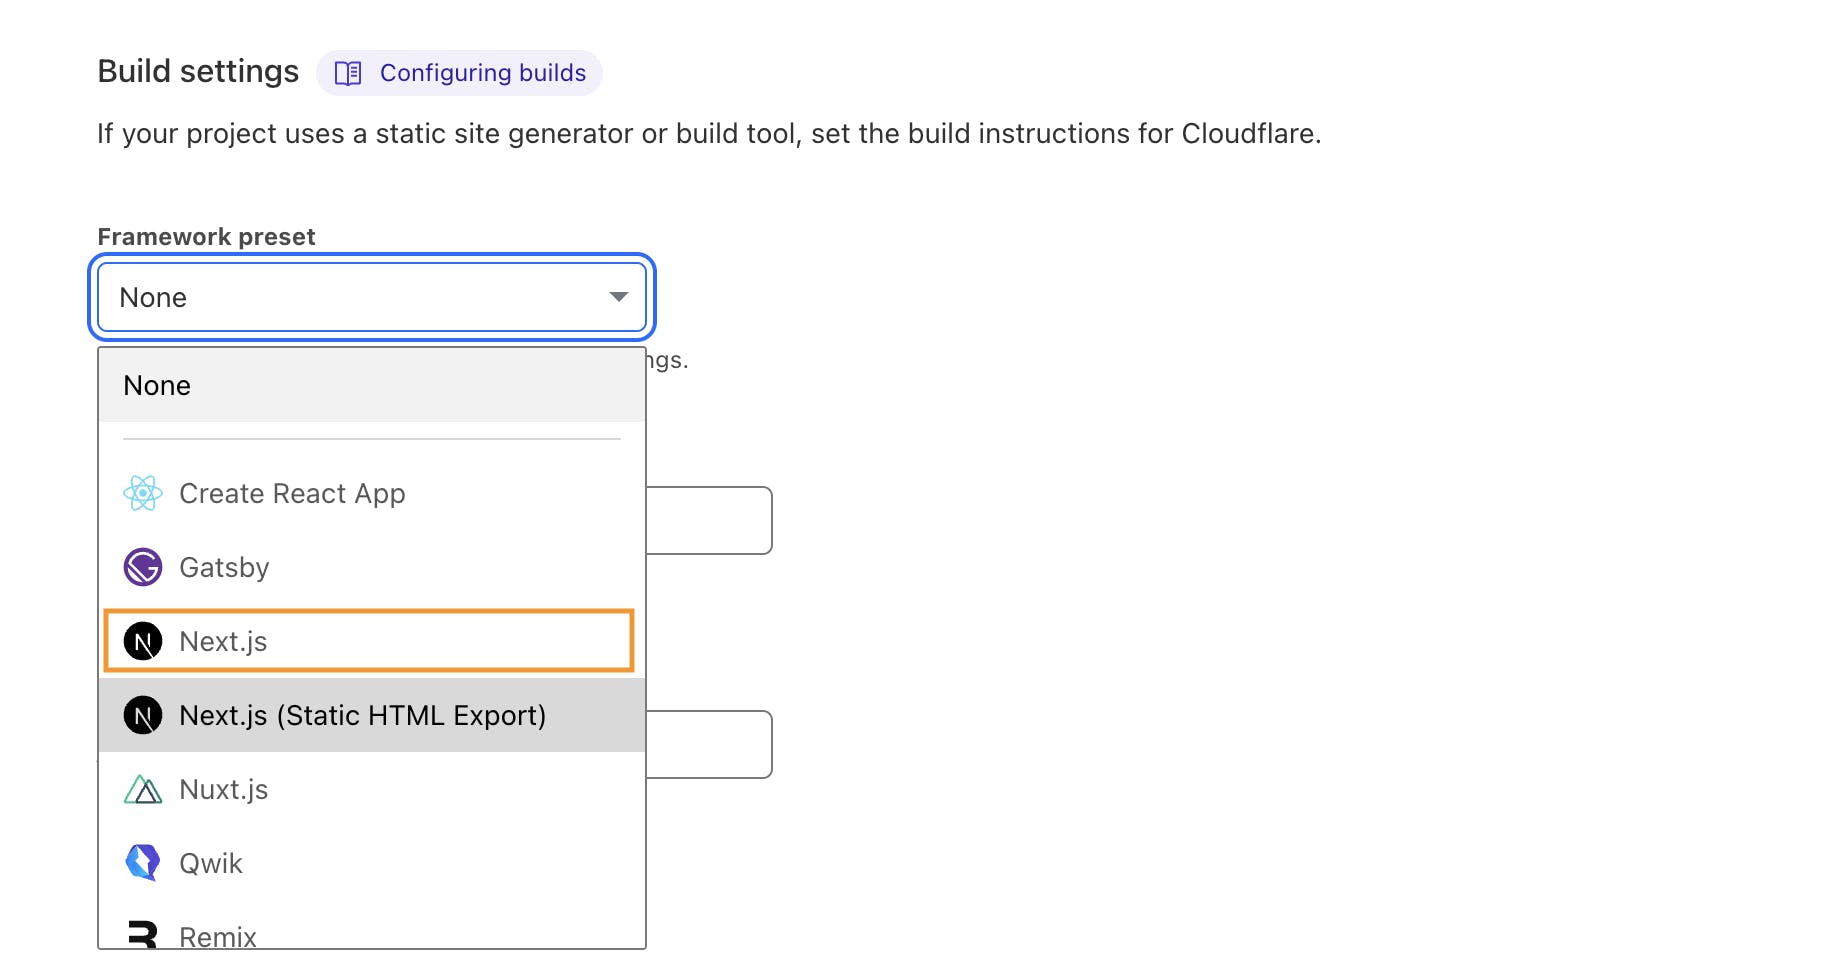
In the next setup tab, scroll to the build setting section to select framework preset.
Since the app we just build is a static application, select the "Next.js" option. This will automatically fill the build command for you.
The click on "Save and deploy" button. Wait for the application to build, with a successful build
Edge Cases
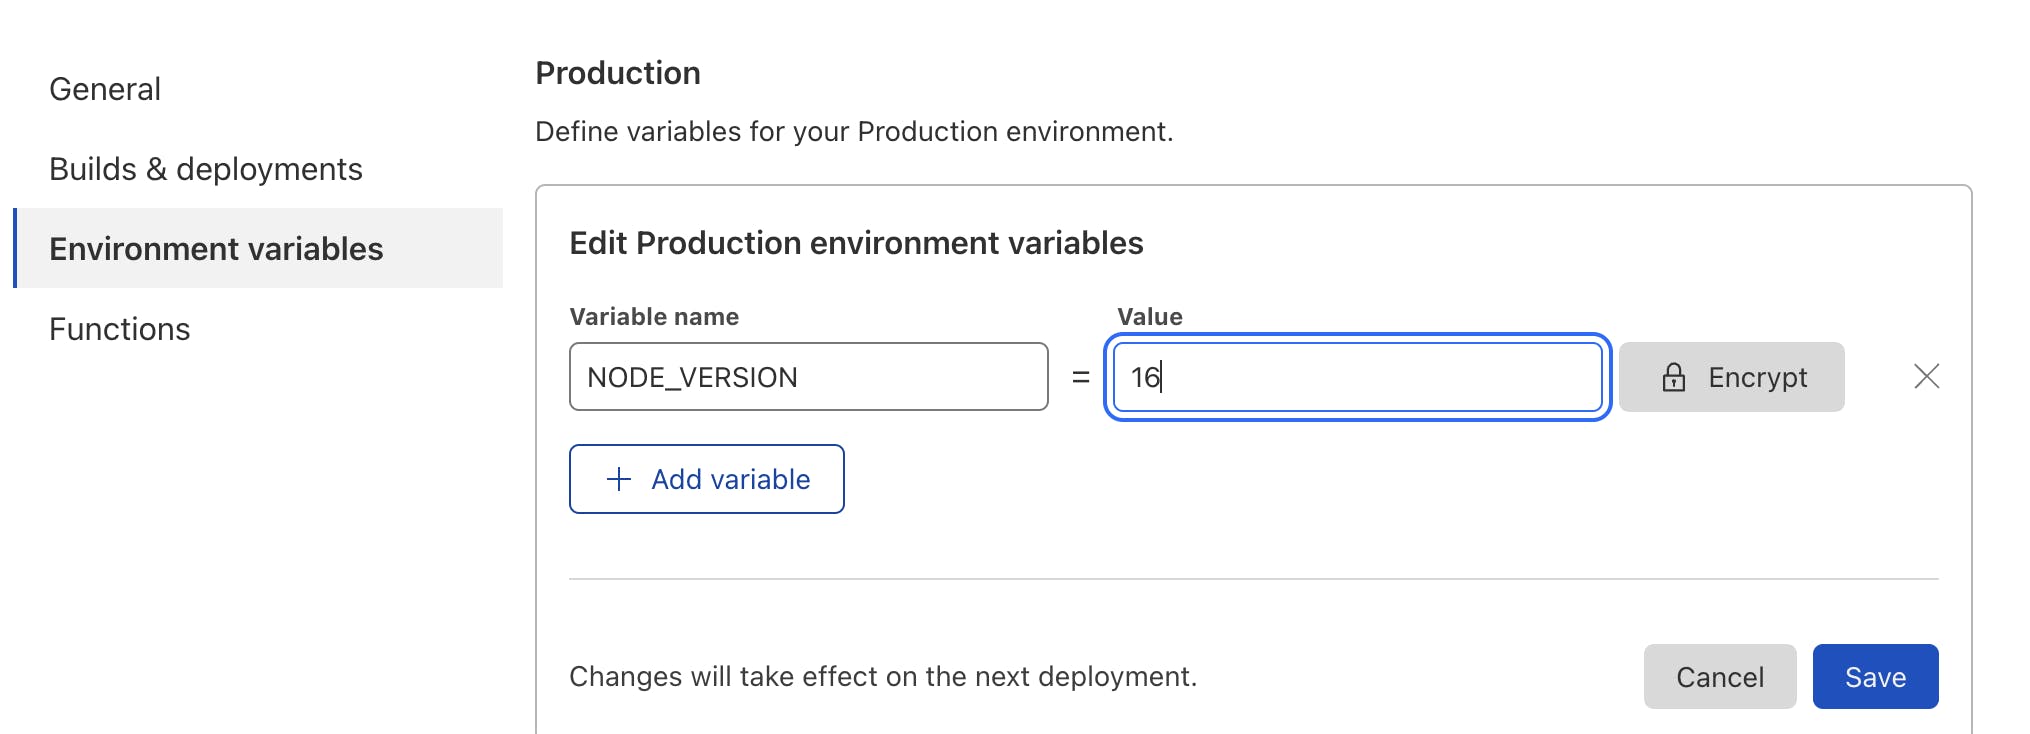
In case you run into any issue that causes your build to fail, try to change the build node.js version. As of the time of writing, Cloudflare is still using node.js version 14.
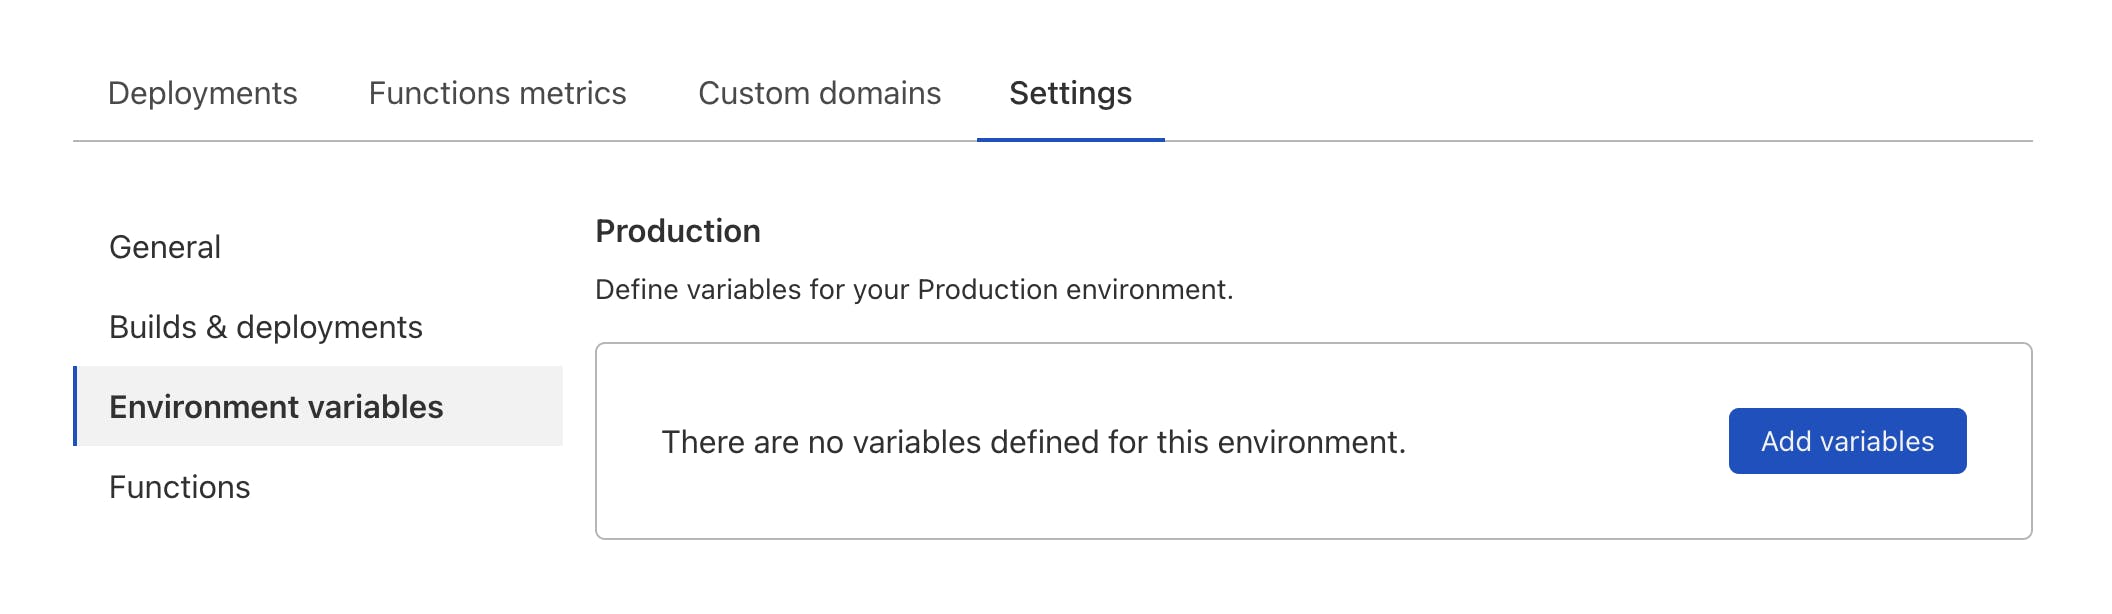
To change the node build version, click on "Pages" on the left menu, select the project you just deployed, click on the settings tab and select "Environment variables" to the left.
Click on the "Add variables" button. Set name to NODE_VERSION and value to 16 and click on save.
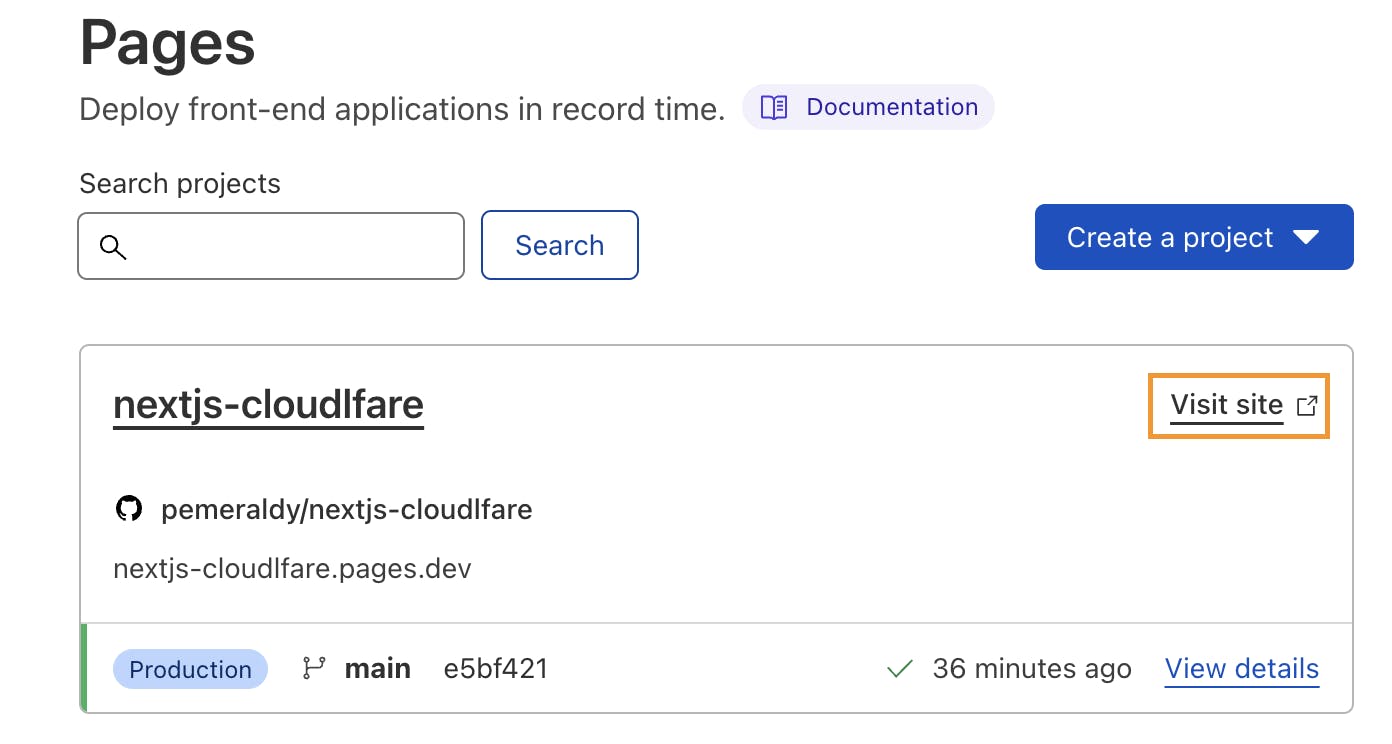
Now redeploy the project, if successful, you should be able to now view your project online hosted by Cloudflare by clicking the "visit site" link.
Congratulation 🎉, you made it thus far.